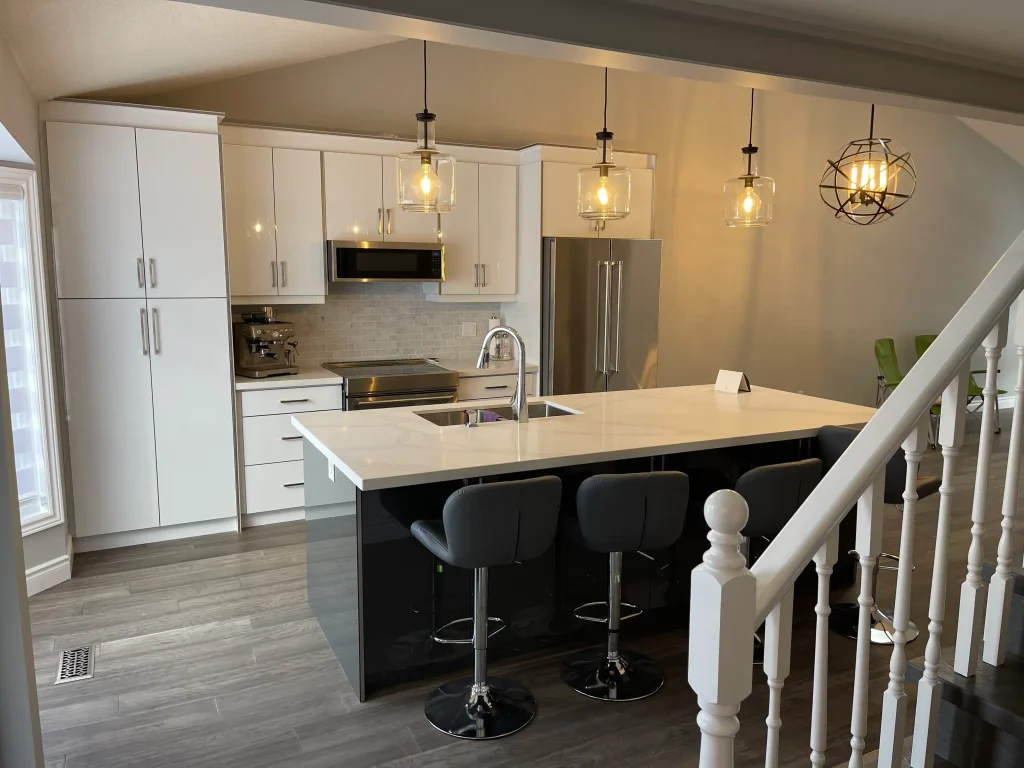
Living without a kitchen during renovation is manageable if you set up a small temporary kitchen before demo day. You need a fridge, a microwave or countertop oven, one cooking appliance, a place to wash dishes and a meal plan. The hardest stretch is usually the first three to four weeks (demolition, rough-ins and drywall), so plan your simplest meals and most dust protection for that window.
- Expect 6 to 12 weeks without a working kitchen for a full renovation. Demo and drywall are the dustiest, noisiest weeks.
- Set up near a sink you can spare: a laundry tub or basement bar sink beats the bathroom.
- Keep four things running: the fridge, a microwave or air fryer, one hot plate or multicooker, and a kettle or coffee maker.
- Plug heat-producing appliances straight into the wall, one per circuit if you can, and skip extension cords.
- Pack the kitchen completely before demo day, and box up what you won't need until the end.
When disruption is worst: the phases of a kitchen renovation
Not every week is equally hard. The schedule below is typical for a full kitchen renovation in our experience. Your timeline depends on scope, permits, inspections and whether walls move.
| Phase | Typical timing | What's happening | Impact on your household |
|---|---|---|---|
| Demolition | Days 1 to 5 | Cabinets, counters, flooring and sometimes drywall come out | Worst noise and dust. Short water and power shut-offs. Bin in the driveway. |
| Rough-ins | Weeks 1 to 3 | Plumbing, electrical, ventilation, gas lines, inspections | Breakers off for hours at a time. Water shut off for re-piping. Trades in and out. |
| Insulation and drywall | Weeks 3 to 4 | Board, tape, mud and sanding | Second dust peak. Fine drywall dust travels farther than demo debris. |
| Flooring, paint, cabinets | Weeks 4 to 7 | Floor goes in, cabinets get installed and levelled | Quieter. The room starts to look like a kitchen, but you still can't use it. |
| Countertop template and fabrication | Weeks 6 to 9 | Stone shop measures cabinets, then cuts the slabs off site | A frustrating pause. Little happens on site while the counters are made. |
| Counters, backsplash, hookups | Weeks 8 to 12 | Sink, faucet, appliances, tile, lighting, trim | Water and power to the kitchen return. Final punch list. |
The takeaway: make your temporary kitchen as easy as possible for the first month. After cabinets go in, life gets calmer.
Before demo day: what to pack, move and decide
Start this checklist about two weeks before demolition. Doing it the weekend before is how plates end up in the bin.
- Empty every cabinet and drawer. Sort into three groups: "temporary kitchen" (one week of dishes and tools), "boxed until done" and "donate or toss".
- Label boxes by room and priority. Write "OPEN LAST" on anything you won't need for three months.
- Eat down the pantry and freezer. Less food means less to store and move.
- Decide what happens to old appliances. If the old fridge is going, ask whether it can run in your temporary kitchen first.
- Clear the path. Move furniture, rugs and lamps out of the route from the door to the kitchen.
- Take art and mirrors off shared walls. Demo vibration travels through studs into the next room.
- Check for hidden hazards in older homes. Houses built before 1960 are likely to have been originally painted with lead-based paint (Simcoe Muskoka District Health Unit, adapted from Health Canada). Asbestos is a concern too, and HealthLink BC's advice is to get a professional opinion before starting a renovation (HealthLink BC).
- Move the Wi-Fi router if it lives in the kitchen. Breakers will be off.
- Plan for parking and garbage. Leave room for a bin and trade vans, and let neighbours know.
- Make a spare key or lockbox code for the site lead, and agree on start and finish times.
Where to set up the temporary kitchen
The best spot has three things: a nearby sink, a dedicated outlet or two, and a door you can close against dust.
| Location | Pros | Cons | Our take |
|---|---|---|---|
| Laundry room | Deep laundry tub for dishes, hard floor, often its own circuits | Tight counter space | Our first pick. Add a folding table. |
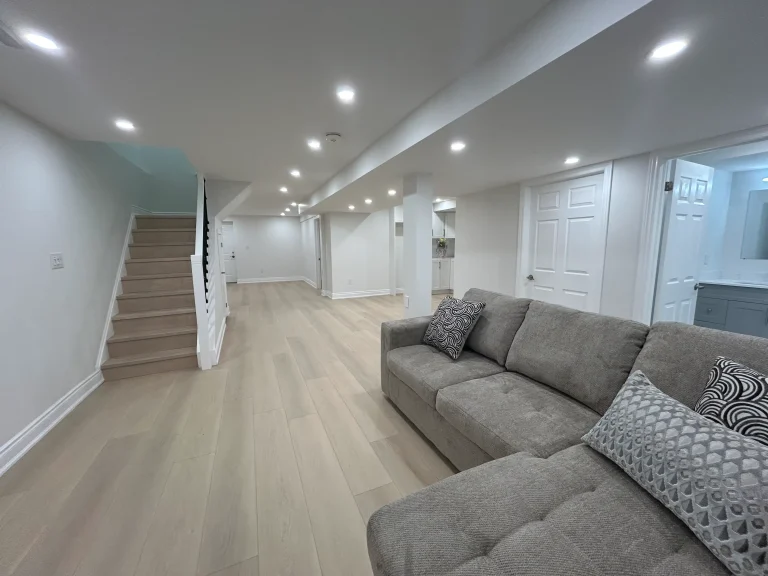
| Finished basement with bar sink | Far from dust, room for a table and fridge | Stairs with every plate | Great if the sink exists. Check the circuit first. |
| Dining room | Close to everything, room to eat together | No sink, closest to the dust | Works with a dishpan system and a good zip wall. |
| Garage | Easy cleanup, near the BBQ | Cold in an Ontario winter, no sink | Fine for a second fridge. Not for daily cooking in January. |
We'd avoid washing dishes in a bathroom sink. It's small, close to the toilet and fights with toothbrush time. If the bathroom is your only choice, use two plastic tubs (wash and rinse) and empty them down the tub drain.
What appliances to keep, and how to power them
The short list
- Fridge. Your old one, a spare or a bar fridge. Health Canada says to keep the fridge at 4°C (40°F) or lower and the freezer at -18°C (0°F) or lower (Health Canada). A $10 fridge thermometer tells you if a moved fridge is keeping up.
- Microwave or air fryer/countertop oven. The air fryer does more real cooking.
- One cooking appliance. An induction hot plate or a multicooker (pressure cooker plus slow cooker) covers most dinners.
- Kettle and coffee maker. Morning sanity.
- Outdoor BBQ. Useful into late fall. Never run it in the garage or indoors because of carbon monoxide.
Power rules
A standard 15-amp, 120-volt circuit tops out at 1,800 watts. A hot plate, kettle or air fryer can each pull 1,200 to 1,800 watts on its own, so running two at once on the same circuit will trip the breaker. Plug heat-producing appliances straight into wall outlets on different circuits. The Electrical Safety Authority notes that manufacturers generally don't recommend extension cords for appliances that generate heat, and that misuse of extension cords, power bars and multi-tap receptacles has contributed to increasing reports of electrical fires and fatalities in Ontario (ESA factsheet). Ask your site lead which outlets stay live during rough-in. They'll know which breakers they need to turn off.
Meal planning for 6 to 12 weeks
Plan for the first month and improvise after that. What works for most families:
- Batch cook before demo. Make soups, chili, pasta sauce and casseroles and freeze them in single-meal containers.
- Know the leftover clock. Health Canada lists cooked dishes with eggs, meat and vegetables at 3 to 4 days in the fridge (Health Canada leftovers guide). Freeze anything you won't eat by then.
- Run a weekly rotation. Two multicooker nights, two BBQ or air fryer nights, one sandwich or salad night, one takeout night, one night at family's.
- Buy pre-cut produce and rotisserie chicken. Less chopping means fewer dishes.
- Budget for takeout. Set a weekly number now so it doesn't creep up.
- Use one set of reusable dishes per person. Each person washes their own. Keep paper plates for the worst weeks.
Dust control that actually works
Renovation dust is more than a nuisance. Health Canada lists renovation work that creates dust, such as cutting or sanding wood, as a source of indoor fine particulate matter (Health Canada). What we put in place, and what you can do:
- Zip walls with a zippered door sealed floor to ceiling around the work area.
- Seal the HVAC returns and supplies in the kitchen so the furnace doesn't spread dust through the house.
- Negative air (a fan blowing out a window) during demo and sanding where the layout allows.
- Floor protection and a walk-off mat at the containment door.
- Change your furnace filter more often. Enbridge advises changing your furnace filter more often after a home renovation (Enbridge). We'd change it after demo and again after drywall.
- Clean damp, not dry. Health Canada recommends cleaning hard floors and surfaces with a wet cloth or mop, and using a HEPA vacuum where possible (Health Canada).
- Cover food and dishes in the temporary kitchen with lids or bins, even if it's two rooms away.
Kids and pets
Kids
- Treat the work zone as off limits, every day, even on weekends when it's quiet. Screws, blades and open floor are left in place overnight.
- Walk the space with older kids before demo so they know where the line is.
- In older homes, take lead seriously. Health Canada warns that even small amounts of dust with lead are dangerous to infants and children (Health Canada). If you have a baby or someone is pregnant, plan to be away during demo and sanding.
- Keep school-morning routines in the temporary kitchen: cereal, fruit and lunches packed the night before.
Pets
- Doors open and close all day. Cats and small dogs get out. Use a closed room, a crate or doggy daycare on demo and delivery days.
- Put a sign on the front door: "Pet inside, keep door closed."
- Move food and water bowls away from dust and out of the trades' path.
- Check paws for drywall mud, nails and adhesive at the end of each day.
What we see on site
- Demo starts before the cabinets are ready. This is the biggest cause of long kitchen-less stretches. We don't tear out a kitchen until cabinets are made or confirmed for delivery. If your custom cabinets have a lead time, that time should pass while you still have a working kitchen.
- The countertop gap catches people off guard. Stone can only be templated after cabinets are installed and level, then fabrication takes time. Ask for a temporary plywood top and a working sink in that window if possible.
- Late changes reset the clock. Moving an outlet after drywall means opening the wall, re-inspecting and patching. Finalize layout, appliance specs and lighting before demo.
- Overloaded temporary kitchens trip breakers. We see hot plates and kettles on one power bar in the dining room. Map your circuits before day one.
- Families underestimate the dishes. Dishwashing is what wears people down, not cooking. Fewer dishes, one tub system and a drying rack make a real difference.
- Good communication shortens the stress. A weekly look-ahead from your site lead ("water off Tuesday morning, drywall dust Thursday") lets you plan meals and errands around the hard days.
If you're planning a kitchen and want a realistic sense of budget and schedule before you pack a single box, start with our kitchen renovation page and cost estimator. Kitchens we build typically range from $40,000 to $140,000+ before HST, and our Oakville kitchen cost guide breaks down where that money goes. You can also browse before and after projects to see what the end of those weeks looks like, or see local kitchens on our Oakville kitchen renovation and Burlington kitchen renovation pages.