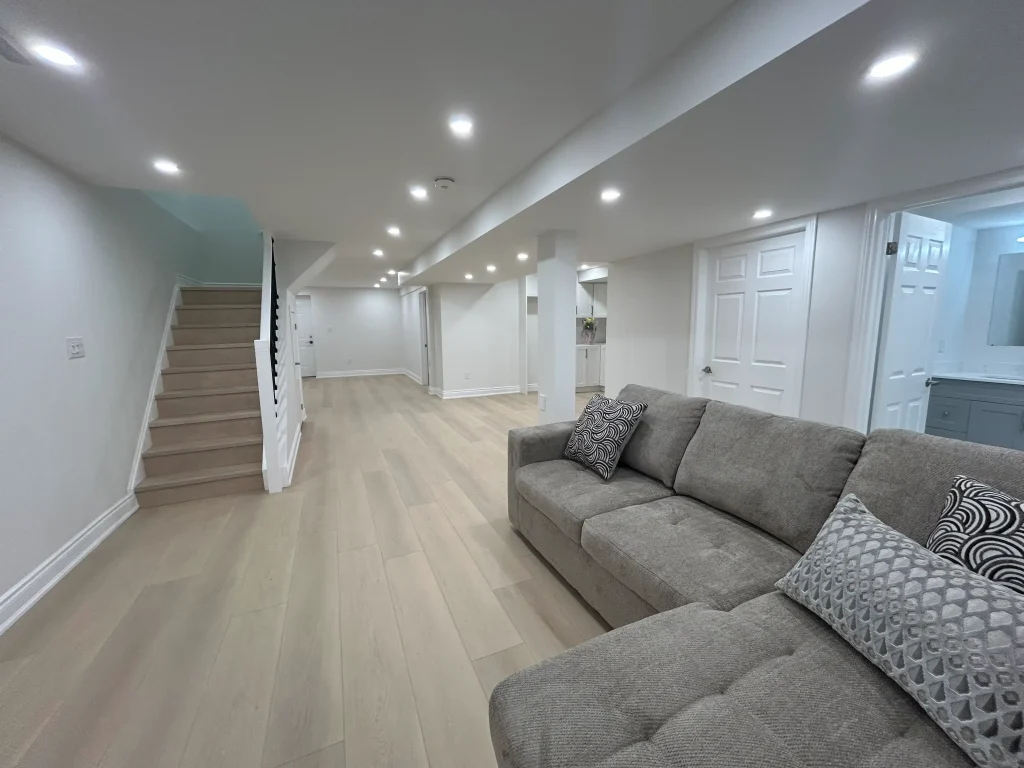
A damp basement before finishing almost always comes from one of six sources: poor grading or downspouts, leaky window wells, foundation cracks, failed weeping tile, summer condensation or a plumbing leak. Find the source with a plastic-sheet test, a hygrometer and a few weeks of rain, then fix it from the outside in until indoor humidity holds under 50%. Only insulate and frame once the walls stay dry, with moisture-tolerant foam against the concrete, never batts and poly straight on the wall.
- Dampness always has a source. Find it before you buy a single stud. Finishing over it hides the problem, it doesn't fix it.
- Fix in this order: outside drainage, then cracks and window wells, then weeping tile and sump, then indoor humidity, then insulation.
- A taped plastic sheet and a basic hygrometer tell you most of what you need to know.
- In Ontario, put moisture-resistant foam against the concrete and vapour control on the warm side.
- Active leaks, white powder that keeps coming back, or water after every heavy rain mean you stop and repair first.
The six usual sources of basement moisture
Water doesn't need a crack to get in. Natural Resources Canada notes that where waterproofing is inadequate, groundwater can move through the foundation by capillary action and evaporate on the inside surface of the wall or floor. That's why a wall can look dry and still feed moisture into the room.
| Source | What you'll see | When it shows up | Usual fix |
|---|---|---|---|
| Grading and downspouts | Wet patch low on one wall, often under a downspout or where a garden bed is piled against the house | During and after rain, spring thaw | Regrade so soil falls away from the house, extend downspouts well past the foundation |
| Window wells | Stains under the window, a wet sill, a rotted wood buck | After storms | Clear the drain, add clean gravel, raise the well above grade, add a cover |
| Foundation cracks | A damp line that follows a crack, often running diagonally from a window corner | After rain, sometimes only in spring | Inject from inside (poured walls) or dig out and seal from outside |
| Weeping tile | Water along the floor-to-wall joint, a sump that never runs or never stops | Wet seasons, high water table | Camera the tile, then repair, replace, or add an interior drain to a sump |
| Condensation | Sweating cold water pipes, damp walls with no pattern, musty smell | Humid summer weeks | Dehumidifier, windows closed, insulate cold pipes |
| Plumbing leaks | One wet spot that doesn't follow the weather | Any time | Plumber, then dry out |
How to diagnose it before you spend on finishes
Give this a few weeks and at least one heavy rain. The timing of the dampness tells you more than anything else.
- Track it against the weather. Wet after rain usually means outside water. Damp in a dry, muggy July points to condensation. Wet all the time points to plumbing or groundwater.
- Do the plastic-sheet test. NRCan's Keeping the Heat In guide suggests taping a sheet of plastic about 1 m square to the walls and slab and checking it after a day or two. Moisture on top of the plastic means humid indoor air. Moisture underneath means water is coming through the concrete, and NRCan adds it can also point to possible radon entry.
- Put a hygrometer in the basement. Health Canada recommends keeping indoor humidity between 30 and 50%. If yours sits at 65% in August, condensation is part of your problem.
- Walk the outside in the rain. Look for soil sloping toward the house, downspouts dumping at the wall, window wells sitting below grade, and driveways or patios pitched toward the foundation.
- Check the sump and floor drain. A pit that stays bone dry through a big storm in an older home can mean the tile is blocked or crushed. A pump that cycles every few minutes in summer can mean a high water table.
- Rule out plumbing. Turn off every fixture and watch the water meter for an hour. If it moves, you have a leak somewhere.
- Open up old finishes. If there's existing drywall or builder insulation, cut a few inspection holes at the bottom of outside walls. Wet insulation or black staining answers the question fast.
The correct order of fixes
Work from the outside in. Every step makes the next one cheaper or unnecessary.
- Gutters, downspouts and grading. These are the cheapest fixes and they solve more damp basements than anything else. Get the soil sloping away from the house and the roof water out past the backfill.
- Window wells. Clean them out, drain them and raise them. Add covers if leaves and snow pile up.
- Cracks. Inject leaking cracks in poured walls. For block or rubble walls, or several cracks leaking, exterior excavation and membrane is the real fix.
- Weeping tile, sump and backwater valve. Camera first, then repair or replace based on what you find. In Toronto, the Basement Flooding Protection Subsidy Program was expanded on May 1, 2026 to offer up to $6,650 per property, and the higher amounts apply to eligible work completed on or after November 12, 2025. Eligible work includes a plumbing assessment, backwater valves, a sump pump with alarm and battery backup, and disconnecting external weeping tile from the storm sewer. Other municipalities run their own programs, so check your city's site before work starts.
- Interior humidity. Run a dehumidifier with a hose to the floor drain so it doesn't stop when the bucket fills. Keep basement windows closed in humid weather.
- Let it dry, then insulate and finish. NRCan points out that concrete holds a lot of moisture, so it's best to let it dry before insulating unless the wall system can handle that moisture.
When to stop and repair first
NRCan is blunt: don't insulate a basement from the inside if it has leaks, dampness, efflorescence or blistering paint, or the new walls can rot. It recommends insulating rubble, brick and moisture-problem foundations from the outside, where repairs, parging, waterproofing and drainage can be done at the same time.
Stop and repair before you frame if you see any of these:
- Liquid water on the floor or running down a wall after rain
- White, chalky efflorescence that comes back after you wipe it off
- Paint blistering or peeling off the concrete
- Cracks wider than a credit card, or cracks with one side higher than the other (call an engineer)
- A sump that overflows or runs non-stop
- Any history of sewer backup without a backwater valve
- Moisture under the plastic-sheet test
Vapour and insulation choices for Ontario basements
Basement walls are cold for most of the year. When warm, humid indoor air reaches cold concrete, it condenses. The wall assembly has to keep that air off the concrete and cope with a bit of moisture coming through from the soil side.
NRCan's rule is that the vapour barrier goes on the warm side of the insulation, and that the layer against the concrete should be moisture-resistant board such as extruded polystyrene or Type IV expanded polystyrene. Closed-cell spray foam is the other good option. NRCan notes it can act as a vapour barrier at 50 mm, works below grade and bonds well to clean concrete.
| Wall assembly | How it handles moisture | Our take |
|---|---|---|
| Rigid foam board (XPS or Type IV EPS) on the concrete, seams taped, 2x4 wall with batts, poly on the warm side | Foam keeps humid air off the cold concrete and doesn't rot if it gets damp | Our default for dry poured walls. Good value, easy to inspect. |
| Closed-cell spray foam on the concrete, then a framed wall | Air seal, insulation and vapour control in one layer. Follows uneven walls. | Best for rim joists, uneven walls and tight spaces. Costs more. |
| Batts and poly fastened straight against concrete (old builder blanket) | Traps moisture between the poly and the wall | Avoid. We take these out when we find them. |
| Poly against the concrete plus poly on the warm side | Moisture gets trapped between two barriers and can't dry either way | Avoid. |
Code and detailing points
- Finishing a basement needs a building permit, and the insulation gets inspected before drywall goes up.
- Foam in living space has to be covered with drywall or another approved thermal barrier.
- Spray-foam the rim joists. They're one of the biggest sources of cold air and condensation in older homes.
- Put a sill gasket or pressure-treated plate under bottom plates so no untreated wood touches the slab.
- For floors, a dimpled subfloor panel gives you a small air gap and a thermal break over the slab.
- Leave a small gap between the drywall and the floor, and use moisture-resistant drywall on the lower walls.
What we see on site
- The downspout-and-window-well combo. A downspout dumps right next to a window well, and the homeowner blames a crack. Moving one downspout often fixes it.
- Old builder blankets. In 1990s and 2000s homes we often pull back half-height insulation wrapped in poly and find mould on the concrete behind it. It all comes out before we frame.
- Clay weeping tile. In homes from the 1950s to the 1970s, the original clay tile is often crushed or full of roots. A camera inspection is cheap compared with tearing out a finished basement later.
- Inside fixes for outside problems. People inject a crack from inside while the grade outside still slopes toward the house. The water just finds the next weak spot.
- Dehumidifiers into buckets. The bucket fills by noon and the unit shuts off. Run a hose to the floor drain.
- Higher stakes for rental units. In a legal basement apartment, a leak means a tenant's belongings and an insurance claim, not just a wet rug. Sort out the moisture before you design the suite.
What we'd do: once repairs are done, live with the basement through at least one heavy rain, and ideally a spring thaw. Watch your hygrometer and repeat the plastic-sheet test before any walls close up. Dry readings are your green light.
How this affects your budget and schedule
Moisture repairs are their own line item and they come before finishing. Our basement renovations run $25,000 to $100,000+ before HST, depending on size, layout, bathrooms and whether it's a separate unit. Waterproofing work comes on top of that and depends on what the diagnosis finds. For local numbers, see our basement renovation cost guide for Oakville. Finished basements near you are on our Oakville basement renovation and Burlington basement renovation pages.
| Fix | Best season | Notes |
|---|---|---|
| Grading, downspouts, window wells | Spring to fall, before frost | Cheapest, so do it first |
| Exterior excavation and membrane | When the ground isn't frozen | Plan around landscaping and driveways |
| Crack injection | Any season | Best done when the crack is actively wet, so you can see it seal |
| Interior drain, sump, backwater valve | Any season | Plumbing permit needed; check subsidy rules first |
| Dehumidification | Start now | Keep it running through the whole project |
Next step
If your basement is damp and you're planning to finish it, start with the diagnosis, not the design. Our basement renovation page has a cost estimator so you can set a realistic budget once the moisture plan is clear. When you're ready, book a consultation and we'll look at the walls, the grade and the sump before we talk about finishes.